DIY Seed Germination Book and My Seed Starting Setup

Monday, March 24, 2025


It's an exciting time of year if you love gardening, time to start seeds! One of my favorite things about starting seeds indoors is that I get to start gardening now instead of having to wait until it's warmer. This is my 5th year starting seeds indoors and I've learned so much in that time. I've made a lot of mistakes (some more than once!), but I feel really good about my practices and set up now.

I start as much as I can from seed to be able to grow exactly which varieties I want. If I time things right, I can get a good jump start on my garden by being able to plant out seedlings that are ahead of what I could purchase at a nursery. Plus I find it rewarding and fun! I could go on and on, but the main purpose of today's post is to share a tutorial for a Seed Germination "Book" and share my seed starting set up. So let's get into it!

For most seeds I prefer to germinate between wet paper towels. Once the seeds have sprouted I carefully move them to dirt. This allows me to keep a better eye on the germination and use less dirt/six packs. To keep things organized, I like to make a little “book” out of folded paper towels. This is handy when I’m starting more than one seed type or variety at a time, but sometimes it gets messy and seeds can get mixed up!

Last year I decided to sew a line of stitching to make a “spine” and keep the pages completely separate. It took no time and it made things so much neater!

DIY Seed Germination Book

Materials:
- Paper Towels (I prefer the choose-a-size type for this.)
- Sewing machine + thread
- Pencil

Instructions:

1. Layer three to four paper towels halves on top of each other.


2. Mark the center line with a pencil.


3. Sew on the line.


4. Fold in half along stitching.

5. Each spread can be used to start a different variety! Mark each page with the variety and start germinating!

How to Germinate Seeds Using a Paper Towel "Book":

1. Completely saturate paper towel book with water. Ring out excess water.

2. Place seeds between layers of paper towel.

3. Carefully close book and place in a plastic container with a lid. Close lid most of the way.

4. Find a warm place for the container. Check every few days for germination and to make sure it's still wet.

5. Once seeds have germinated, transfer to soil and get growing! Try to move seeds out as soon as a root appears, to avoid it getting too tangled in the paper towel!

My Seed Starting Setup:

I start seeds in my unfinished basement, which is typically around 65 degrees. I use an adjustable wire storage shelf that's meant for kitchen storage. I believe I purchased it from either Home Depot or Target. The one I use is 48" wide.


Each shelf has two simple shop lights that take two bulbs each, for a total of four bulbs per level! I use one warm and one cool bulb in each light. These are just basic bulbs, not specifically grow light bulbs. The lights hang from the shelves with little "S" hooks that fit the chains on the lights. I have a few seedling heating pads to help with initial seed germination. Everything is set up on smart plugs and is on for 14 hours per day.


To help keep the growing environment warm and humid, I have two shower curtain liners installed along the top edge of the shelf unit. They're attached with cheap shower curtain rings! The top is covered with a fleece blanket. I use clothespins to keep the curtains closed. I added this feature a couple years ago and it has helped SO much! And was a less than $10 addition to this setup.

A note on costs: This set up was a bit of an investment upfront. I have four shelves of growing space, which amounts to eight shop lights. Between the lights and the bulbs, it adds up! However, I have yet to need to replace any of the bulbs. I fill these entire set up every Spring, but you may not need or want this much space. If you're new to starting seeds, I would recommend starting small to see how you like it.

A Few Tips and Tricks for Starting Seeds:

- Keep notes. I've been using this notebook to keep track of my seed starting for the last five seasons. I take notes on when I start germinating something, when it sprouts, when I move it up a pot size, and when I plant it outside, and any other detail that could be useful. It's really nice to look back and see what I did in years past and what did or didn't work out.

- Adjustable lighting is really helpful. You want to be able to move the lights close to the soil surface when the seeds are germinating and first sprouting. Being able to move them futher away as they grow is critical to getting healthy seedlings.


- Size up your pot sooner rather than later. This mistake I have made many times and some types of plants are more sensitive to this than others. Keeping your seedlings in a container that is too small can stunt their growth, and it can be difficult for them to recover, even after they are planted outdoors.

- I prefer a seed starting medium that has some organic matter in it. Or I'll add it myself via some earthworm castings. When I size up the pot for the seedlings I switch to a regular potting mix that has fertilizer.


- Before packing six-cells or pots with dirt, wet it. It's nice to be able to avoid disturbing seeds with an initial watering right after planting. I add my seed starting medium to a small laundry tub, add water a little at a time and mix it up with gloved hands. Once it is evenly moist I pack it lightly into my containers.

- I keep a spray bottle of water nearby to lightly spray my seed germination "book", as well as any surface sown seeds.


I hope this tutorial and these tips are helpful to you on your seed starting journey! Here are a few other garden related tutorials I've published over the years:


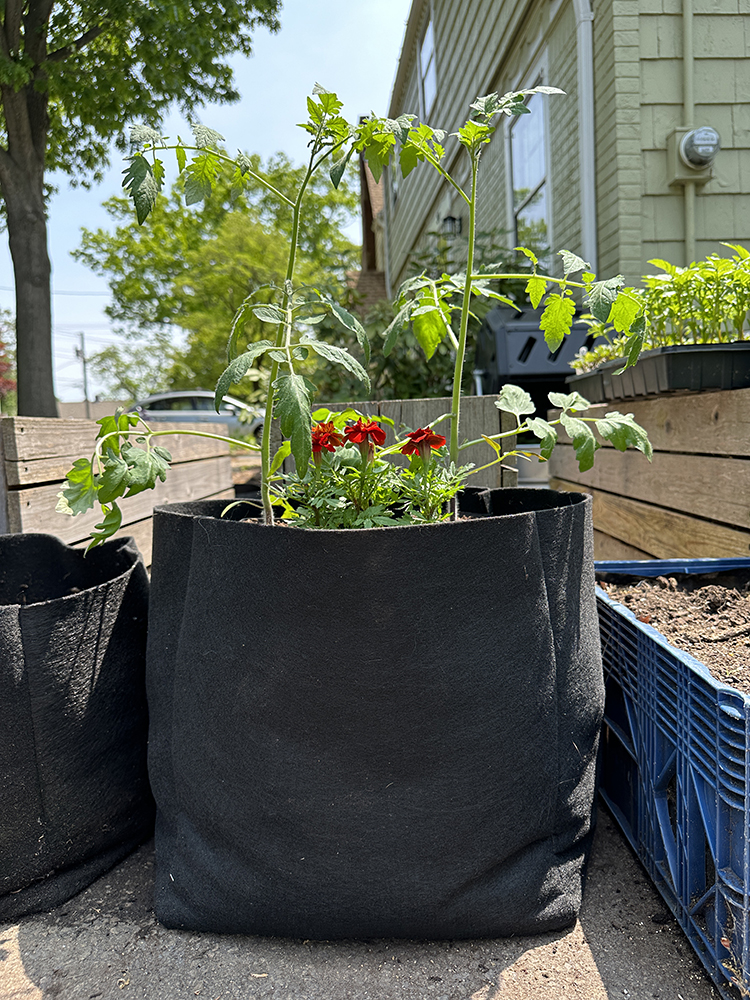
DIY Felt Grow Bags (with Video Tutorial)


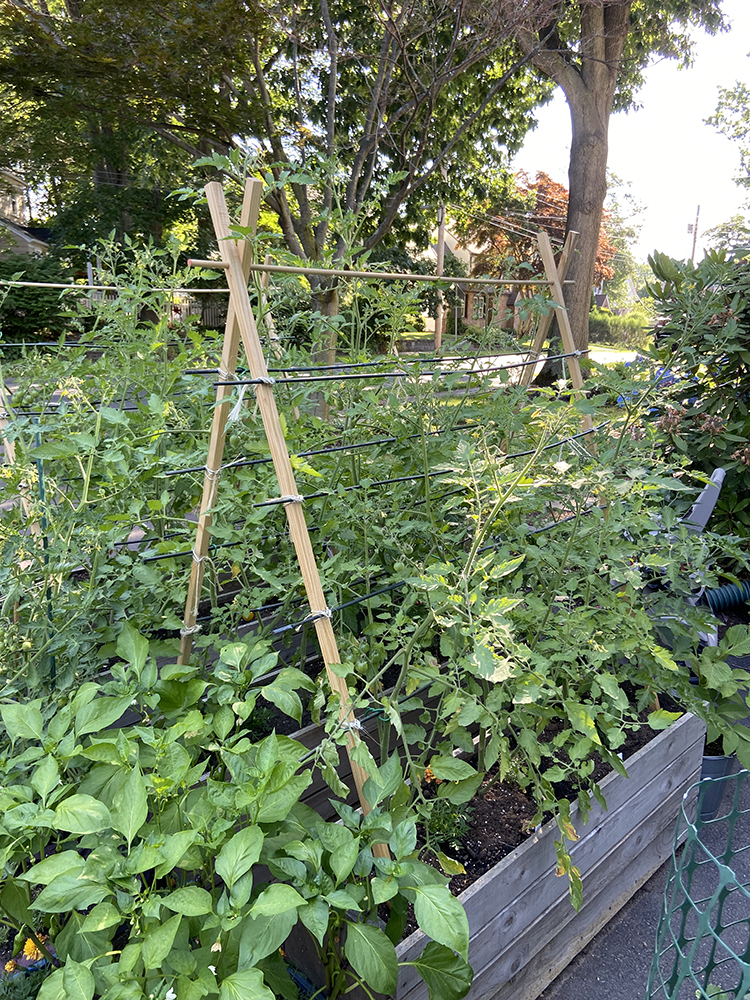
DIY Budget Wooden Tomato Trellis


DIY Fabric Grow Bags

Happy Gardening!

Hello Kitty Patchwork Quilt

Wednesday, March 12, 2025


Happy Wednesday! Today I have a recently finished quilt to share, a Hello Kitty patchwork quilt that I made for my daughter!


I started this quilt immediately after the election last year. I was feeling very sad/scared/angry, and needed a comfort project. I've held onto a stack of 5" Hello Kitty charms that a friend gave me for years and decided it was time to use them in a project. I cut some extra 5" squares from my stash of Hello Kitty fabrics to give me enough for this quilt.


For the background I used a polka dot sheet that I thrifted at the Goodwill Outlet. I love the colors! Now I'm keeping my eye out for more polka dot sheets! A checkerboard layout felt like the right choice.


The quilting is really simple, just some straight lines 1/4" on either side of each seam. Nothing fancy!


I really love the backing!! Sometime last year I thrifted a handmade duvet cover made from this incredible off-brand Hello Kitty fabric. We jokingly say it's "hey there kitty" instead of "hello kitty"! I took apart the duvet and now I have a bunch of fabric to play with.


The binding is another thrifted fabric, just a sweet little red and white polkadot. There are a lot of different colors in the charm squares, but red felt like a pretty good choice, since there is a lot of red throughout. The red also went well with the back!


My daughter loves this quilt, which is happy! It was a good reminder for me too that something simple can be so enjoyable to make and use. I'm so glad to have finally used those charms! There were some really cute prints in there, and now we get to enjoy them!

Hello Kitty Patchwork Quilt
Pattern: No pattern, used 5" squares
Fabrics: Reclaimed Bedsheets, stash

Happy Quilting!

February Wrap Up

Friday, February 28, 2025


Happy Friday! I felt inclined to share a little wrap up of February (and January really)! Not sure if this will be a regular thing or not, but thought it might be fun to try out. I miss my monthly report posts and my Friday Favorites. This is kind of a mash-up of those!


What I Sewed:
I just did a big post with all the things I'm working on right now! Check it out here: What I'm Working on Right Now

What I Watched:
We're rewatching All Creatures Great and Small (PBS), which we love. I also watched the Black Doves (Netflix), which was really good. I don't think I've watched any new movies lately, but did recently rewatch Knives Out (Netflix) and Wicked Little Letters (Netflix). Really enjoy both of those!

What I Listened To:
Michael got me hooked on Alive 2007, a live album from Daft Punk. I've been listening to their albums since college, but had never listened to this one. It's so good!


What I Baked/Cooked:
I can't stop making the granola biscotti from Smitten Kitchen Everyday* by Deb Perelman. I make it with cranberries and mini chocolate chips. This last batch I cut out two Tbs of butter and half the granulated sugar. I think with the chocolate chips in there I could get away with cutting the sugar a little further. They're so good with a cup of coffee.

For baby girl I've been making this Protein Banana Bread from Yummy Toddler Food. It's a big hit. I only use a splash of maple syrup and the second batch I added shredded carrot. I make it in mini loaf pans and freeze three of the four loaves. Makes it easy to pull them out as needed!

What I Read:
Currently reading The Way of Kings* by Brandon Sanderson. The only books I read last year were by Brandon. I started the year trying to read a couple other random books in my library, but ended up going back! This is the first book of his Stormlight Archive series. I do love reading series, because I don't have to decide what to read next for a while. These books are long, so I should be set on reading material for the foreseeable future!


What I Knitted:
I've been working on a new Astra hat! This is my third one, I previously knit one for myself and one for Michael. This pattern is really enjoyable to knit and it's beautiful too. I'm using some Spun Right Round yarn that I purchased in the last few years, along with a yarn that has been in my stash since 2017! I'm just about to start the decreases, so I don't have much further to go.

What I Crafted:
I started junk journaling the last few months. I don't always have time to work on it every week, but it's been really fun. I've always collected cute little bits and bobs from traveling, shopping, etc. This has been a fun way to use them in something. I was really inspired by Martina Calvi's new book The Art of Memory Collecting*. It was also a good excuse to join the Hello Kitty and Friends Sticker subscription from Pipsticks!!


What I Thrifted:
2025 has already delivered some great thrifting finds. Last weekend I found a queen sized quilt at the outlet. I've also found some great kid's books lately and vintage sheets.

What I Played:
I've been playing the new Stardew Valley update (v1.6) on my Switch, which has been really fun. It's a game I just keep coming back to!


I'll leave you with a Dusty cat photo!

Have a Great Month!

*Note: Any links marked with an asterisk in this post are affiliate links. This means if you click through and buy something, I make a small commission, at no extra cost to you.

Warm Cool Giant Log Cabin Quilt

Wednesday, February 26, 2025


Happy Wednesday! Today I am excited to finally share my finished warm cool giant log cabin quilt!


I started this quilt in May 2024. I had been holding onto a bunch of 2" vintage sheet strips that were leftover from when I used to make wrapped wreath kits. I don't sell the kits anymore, but you can still find the free tutorial here: Wrapped Wreath Tutorial. That was back when I had my vintage sheet shop on Etsy, so I probably cut the strips around 10 years ago! I thought it was time to try to use them up. I wasn't able to use all of them in this project, but I made a good dent.


Pretty quickly I decided to make a log cabin quilt. I made a few test blocks playing with color placement before landing on this warm/cool arrangement. I've wanted to make a warm cool log cabin quilt ever since I made my warm cool half-square triangle quilts back when I first started quilting! That was my first sew along, which I ran in 2011. You can find it here if you're curious: Warm Cool Quilt Along


I made four large log cabin blocks primarily from the strips I already had cut. I added in a few where needed to achieve a good balance of color and pattern. Especially for the longest strips on the outer edge, I needed to dip into my stash. The quilt finishes around 50" square.


I really enjoyed playing around with giant log cabin blocks again. I still love the Giant Log Cabin Jelly Roll Quilt I made with Carolyn Friedlander's fabrics a few years ago.


For the quilting, I did a repeat of the quilting design I did on my Vintage Bear Paw Baby Quilt. It's wavy lines in both directions, so you end up with kind of a wavy grid! See my tutorial for how to do this wavy quilting here: How to Quilt Wavy Lines with a Walking Foot (video!)


I've had this backing sheet in my stash for such a long time! Easily 15 years. I have been saving it specifically to use as a backing and this seemed like the right quilt. I actually forgot until I pulled it out that it was a fitted sheet, so I really couldn't have used it on anything much bigger than this. Meant to be! I love the hearts. It reminds me of the backing sheet I used on this quilt. I had to choose a striped sheet for the binding, right? I went with blue for this one!


I used one of my custom woven labels to finish it off.


This quilt was a joy to work on. I loved using up long stashed materials that had been languishing. Since finishing it late last year it has gotten lots of use on our living room floor as a play mat!

Warm Cool Giant Log Cabin Quilt by Jeni Baker
Pattern: No pattern, used 2" wide strips
Fabrics: Vintage Reclaimed Bedsheets

Happy Quilting!